一、前言
在Qt的图形视图框架中,视图QGraphicsView是继承自QAbstractScrollArea,所以当场景QGraphicsScene比视图QGraphicsView尺寸要大的时候,就会出现滚动条(水平-垂直)。用户可以拖动滚动条来移动视图,查看场景的不同位置。
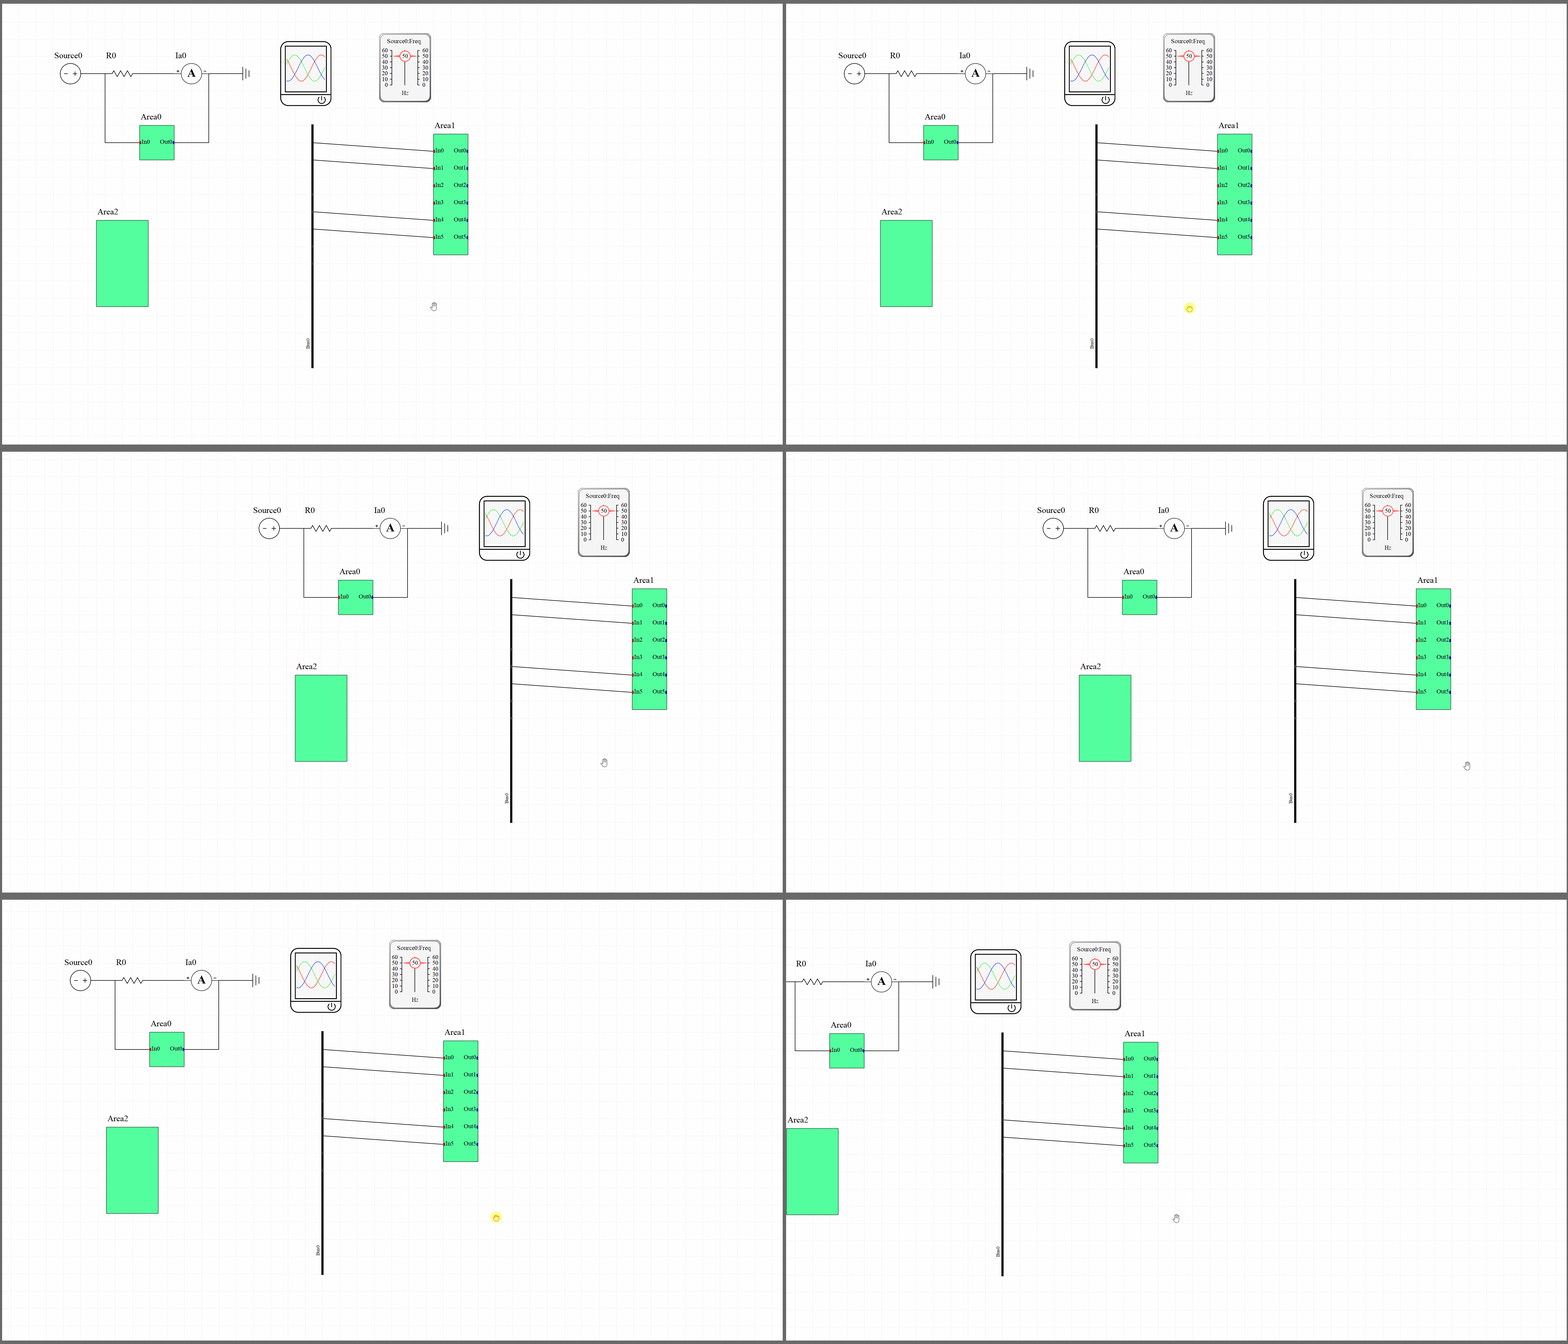
但是通过移动滚动条有时候操作很麻烦、不顺手;而且带滚动条还不好看;所以我们可以去除滚动条,并重写视图QGraphicsView的鼠标事件来实现拖拽视图达到和滚动条同样的效果。
二、效果展示

三、详细代码
class ProjectView : public QGraphicsView {
    Q_OBJECT

public:
    ProjectView(QWidget* parent = 0);
    ~ProjectView();

    QPointF m_lastPointF;
    bool isPressed;

protected:
    void mousePressEvent(QMouseEvent *event);
    void mouseMoveEvent(QMouseEvent* mouseEvent);
    void mouseReleaseEvent(QMouseEvent* mouseEvent);
};
ProjectView::ProjectView(QWidget* parent)
    : QGraphicsView(parent)
{
    this->setMouseTracking(true);

    this->setHorizontalScrollBarPolicy(Qt::ScrollBarAlwaysOff);
    this->setVerticalScrollBarPolicy(Qt::ScrollBarAlwaysOff);
    this->verticalScrollBar()->blockSignals(true);
    this->horizontalScrollBar()->blockSignals(true);

    this->horizontalScrollBar()->setEnabled(false);
    this->verticalScrollBar()->setEnabled(false);
    this->verticalScrollBar()->setValue(this->verticalScrollBar()->minimum());
    this->horizontalScrollBar()->setValue(this->horizontalScrollBar()->minimum());

    this->setViewportUpdateMode(QGraphicsView::FullViewportUpdate);
    this->setDragMode(QGraphicsView::RubberBandDrag);
    this->setRubberBandSelectionMode(Qt::ContainsItemBoundingRect);
    this->setAcceptDrops(true);
}
ProjectView::~ProjectView()
{
    //qDebug()<<__FUNCTION__;
}

void ProjectView::mousePressEvent(QMouseEvent* mouseEvent)
{
    m_lastPointF = mouseEvent->pos();
    isPressed = true;

    QGraphicsView::mousePressEvent(mouseEvent);
}

void ProjectView::mouseMoveEvent(QMouseEvent* mouseEvent)
{
    if (isPressed ) {
        QPointF disPointF = mouseEvent->pos() - m_lastPointF;
        m_lastPointF = mouseEvent->pos();
        this->scene()->setSceneRect(this->scene()->sceneRect().x() - disPointF.x(),
            this->scene()->sceneRect().y() - disPointF.y(),
            this->scene()->sceneRect().width(),
            this->scene()->sceneRect().height());
        this->scene()->update();
    }

    QGraphicsView::mouseMoveEvent(mouseEvent);
}

void ProjectView::mouseReleaseEvent(QMouseEvent* mouseEvent)
{
    if (isPressed) {
        isPressed = false;
    }

    QGraphicsView::mouseReleaseEvent(mouseEvent);
}
python 生成date Python 生成器
在Python中,一边循环一边计算的机制,称为生成器:generator。创建生成器的方法一:只要把一个列表生成式的[]改成(),就创建了一个generator>>> L = [x * x for x in range(10)] #列表生成式
[0, 1, 4, 9, 16, 25, 36, 49, 64, 81]
